 Ok, I don't have anymore pictures of this one, I really liked the way it looked though. It is pretty and simple. First I made the little poof with her bangs that we are growing out ( I am considering cutting them though....they bug lol) I left a little bit down on each side and then put the rest into pigtails. I separated a small amount of hair on the top section of each pigtail. I did a loose braid and then at the end I slid 2 of the 3 braid strands up to make the squishy braid. I think it looks a lot like Celtic Knot work. Anyways I secured each squishy braid with an elastic and there you go! Enjoy!
Showing posts with label Pigtails. Show all posts
Showing posts with label Pigtails. Show all posts
Wednesday, January 12, 2011
Pigtails, Squishy Braids, and a Poof....Oh My!
Ok, I don't have anymore pictures of this one, I really liked the way it looked though. It is pretty and simple. First I made the little poof with her bangs that we are growing out ( I am considering cutting them though....they bug lol) I left a little bit down on each side and then put the rest into pigtails. I separated a small amount of hair on the top section of each pigtail. I did a loose braid and then at the end I slid 2 of the 3 braid strands up to make the squishy braid. I think it looks a lot like Celtic Knot work. Anyways I secured each squishy braid with an elastic and there you go! Enjoy!
Monday, January 10, 2011
Christmas Tree
We did this style for her last week of school. I like how it turned out although I wish I had been able to find a little star or something for the top, that would have been soooo cute :)

I know the pictures are terrible below but If you can see good enough they are helpful.

First make sure to do this while the hair is wet and use a good amount of strong gel. I put half of her hair into a fairly high ponytail. Then I kinda of separated it like when you do a messy bun and just made little elastic ponytails all the way around. Then for each little pony you made split it in half and add it to the half from the one next to it and secure with another elastic.

Keep splitting it and adding it to the side one all the way down until you have something that looks like a webbed hat lol. Spray it with hairspray and let it dry.

After it has dried, pull it down so it looks like a cone. Take the bottom half of the hair you didn't do the webbing with and put into low pigtails. Take the webbed hair and add to each side and secure (it doesn't have to be secured to the same spot you made the pigtails it can be further down the pigtail to make a tall enough Christmas tree.). Then I took these cute little Christmas bulbs I found at Michael's and a plastic craft sewing needle and just tied it into different spots on the tree. Add a tree topper or whatever else you think looks cute and you have a decorated Christmas tree!
We hope everyone had a wonderful holiday and sorry these post are after Christmas but keep it in mind for next year! We have one more Christmas style I will be posting next but it can be used year round!
Saturday, July 3, 2010
4th Of July style
4th Of July style

Okay so I started out by separating the hair down the middle. Use a good amount of gel for this.
 Then across the top
  I split the right side into 2 sections. Then I took the right side of that and make 6 sections across.
 Now take the bottom section and split again, twist hair so it will fit through the bead and add to the section to the right of it.
*these pics look different cause I was going to have 2 rows of beads on the left and right of each pigtail..it will make more sense later. This shows how to do the beads though.
 Secure with a clear elastic.
 Do the same with the next one.
 So add the red, white, and blue beads going up the right side like this.
 Until it looks like this
 Now the left side.
 Like this.
 Then I took a section on the left just behind her bangs for a cornrow and braided it down, then added red, white, and blue beads to that braid and secure with a clear elastic at the bottom.
 Now go back and starting at the bottom take the little ponies you have created and split them in half add the section so you have 3 strands and start your braid. Now just dutch braid by adding each side as you go up and then secure at top.
 We added the left over hair from the crown and made pigtails and made messy buns to weave the Glowbys into.
 We added the bows I made as well.
 This is with pigtails instead of buns.
 For a more dramatic look, you can make this like I was starting out and instead of having the one braid going up the middle you will have two braids and more beads. This is kinda confusing to explain since we changed the way we were doing it but Chelina was tired and it takes longer to do the other way. I hope this explains enough though. I got some of the inspiration for this from Kristi at http://kjbraids.blogspot.com/ and Nikki at http://beadsbraidsbeyond.blogspot.com/ both of them super talented . If you want to get the Glowbys go here I didn't take a pic with them in cause it wouldn't show up with my camera. They are awesome though! Well enjoy and we hope you have a fun, safe 4th!
Monday, June 28, 2010
Butterfly Braids
Butterfly Braids
 For this style we were going for a butterfly kind of look and this is what we ended up with. It would have been better if I had made 2 loops on each side of the braid but this was cute as well.
 First, part the hair down the middle and then make a Dutch Braid down the right side BUT at about the crown area split the hair in half that your adding and leave a half out of the braid.
 It should look like this.
 Do both sides and then do Twist Braids for the hair you left out.
 Twist the twist braids together a couple timesin the middle.
 Now start adding the twist to the remaing part of the Dutch Braid at about the nape of the neck and continue to braid as far down as you can.
 This is how the braids should look by now.
 Here are some 4th of July bows I made. I have 2 extra if anyone is interested in purchasing them let me know and I can send them right out. Or if your local you can pick them up just let me know soon since the 4th is almost here! :) I will sell the set for $10 .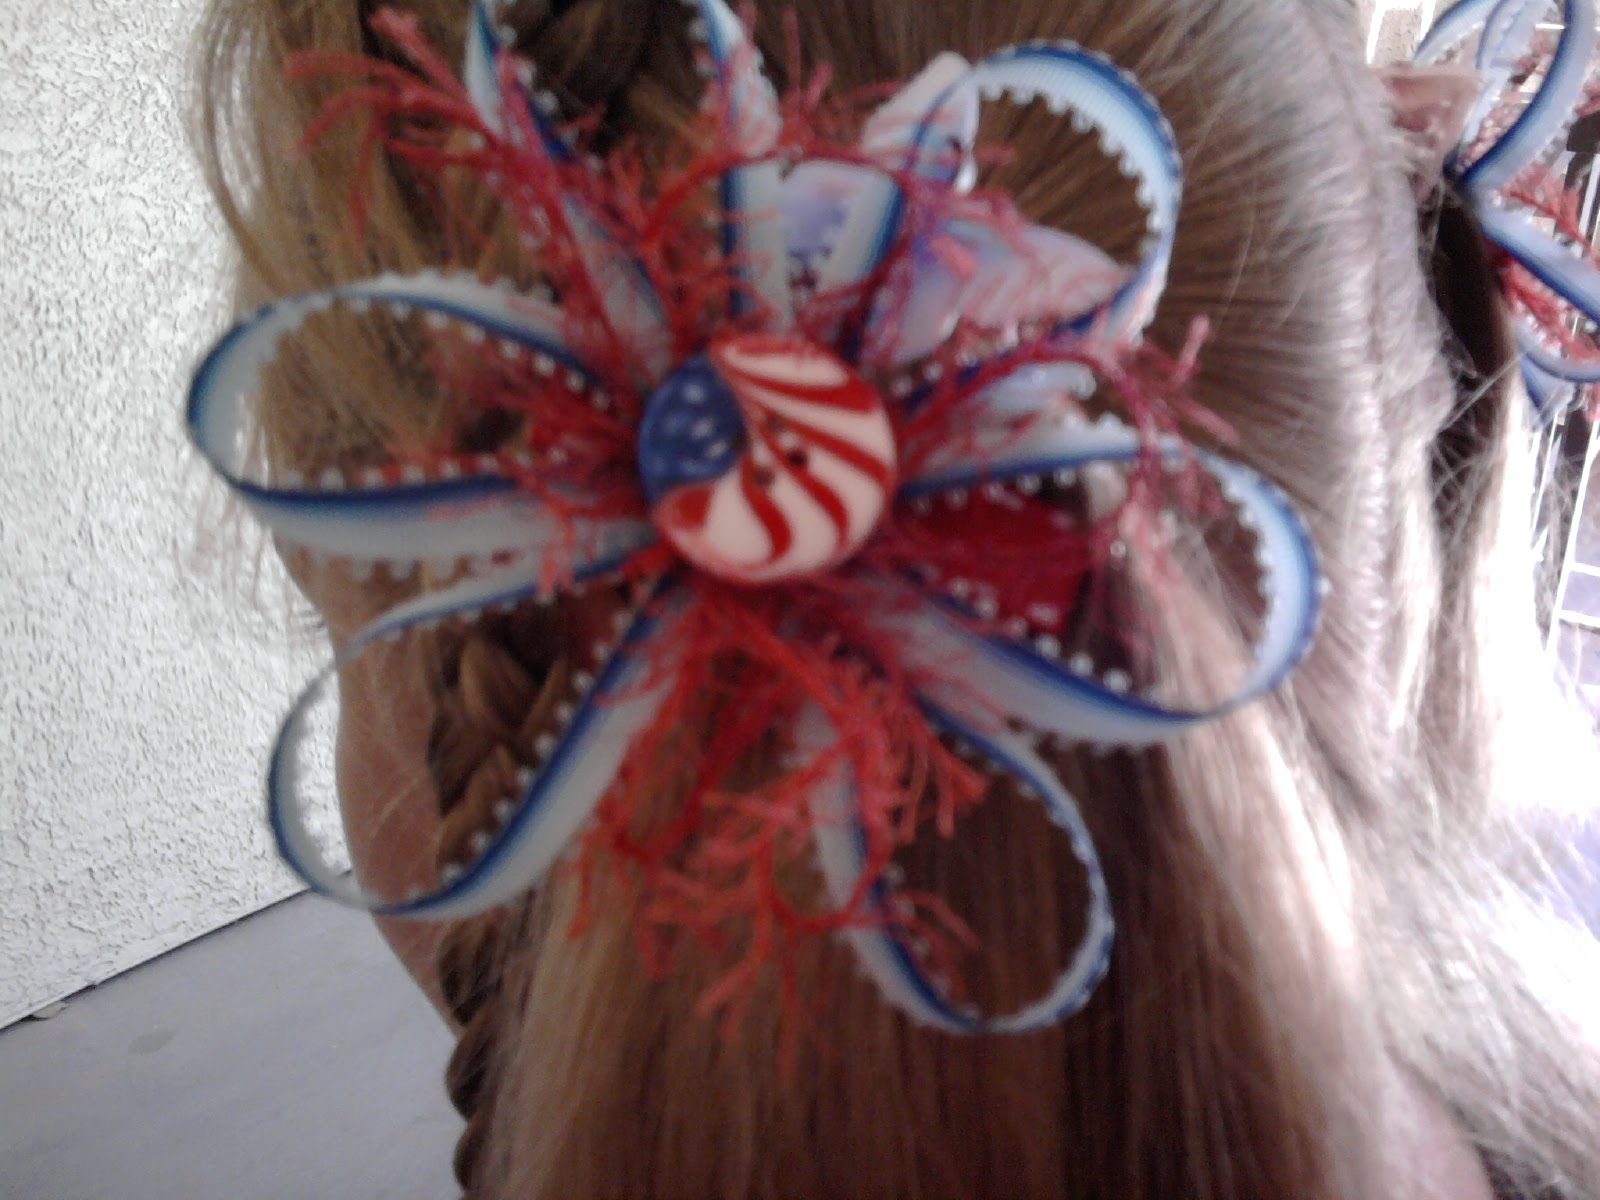

Friday, May 28, 2010
Knotted Back Pigtails
 This is a simple style to do. We started out by making the little poof in the front then we split the hair into 2 sections for pigtails. Apply gel all through hair and comb through some more. Then start sectioning of a small amount of hair starting from the top just below the poof for the first knot. Secure this with an elastic and then tie once. Now section another piece and add the hair from the first knot and secure with an elastic and tie. Make another section and secure with an elastic and tie then add to the last section of hair and secure with a more heavy duty elastic.
 Now just do the same with the other side, spray and your done. This style is easiest to do on wet hair. The knots turn out much smoother.


Thursday, November 12, 2009
Veterans Day Parade
Veteran's Day Parade


Yesterday my daughter was in the Veterans Day Parade in Phoenix with Young Champions of America which is the program she goes to for Cheer and Hip Hop. They are huge and have classes for Cheer, Hip Hop, Soccer, Karate, and Art all over the valley as well as in California, Texas, Ohio, North Carolina, Michigan (Tennessee, Indiana, Pennsylvania), Illinois, Missouri, Kansas, Nebraska, and Iowa! They are only $6 per class and are a Non-Profit Organization. Chelina has been doing Cheer and Hip Hop with them for about 2 years. She loves it and her coaches are great! They do parades and competitions each semester.
So yesterday I found out the Phoenix Veterans Day Parade is the 4th largest Veterans Day Parade. I mean I have only lived in Arizona since 1998 and then 6 years as a kid and I didn't know this lol. It was great to go out and see everyone there showing their pride. It was a Little toasty out though :(, 91 degree's is way too hot for November! The weather man Say's that was the last of the 90 degree temps so we will see.
So as far as hair goes, I did a 2 criss cross twists over a scarf and then pigtails with braids then 4 twist in the middle with red, white, and black elastics (her cheer colors). I wrapped the ends of the scarf around the elastics for the pigtails and secured with a small black elastic. So here is the pics. Wasn't able to get many at the parade cause I was also using the camcorder and we were late due to traffic issues. I did take some after getting back though.
I know these aren't the best step by step pic's but it was late :( so forgive me. It is basically 2 styles I have done before combined.


Thanks for reading and thank you to all the soldiers who have served and are serving now.
Subscribe to:
Posts (Atom)