Monday, June 28, 2010

Butterfly Braids

Butterfly Braids


For this style we were going for a butterfly kind of look and this is what we ended up with. It would have been better if I had made 2 loops on each side of the braid but this was cute as well.


First, part the hair down the middle and then make a Dutch Braid down the right side BUT at about the crown area split the hair in half that your adding and leave a half out of the braid.


It should look like this.


Do both sides and then do Twist Braids for the hair you left out.


Twist the twist braids together a couple timesin the middle.


Now start adding the twist to the remaing part of the Dutch Braid at about the nape of the neck and continue to braid as far down as you can.


This is how the braids should look by now.


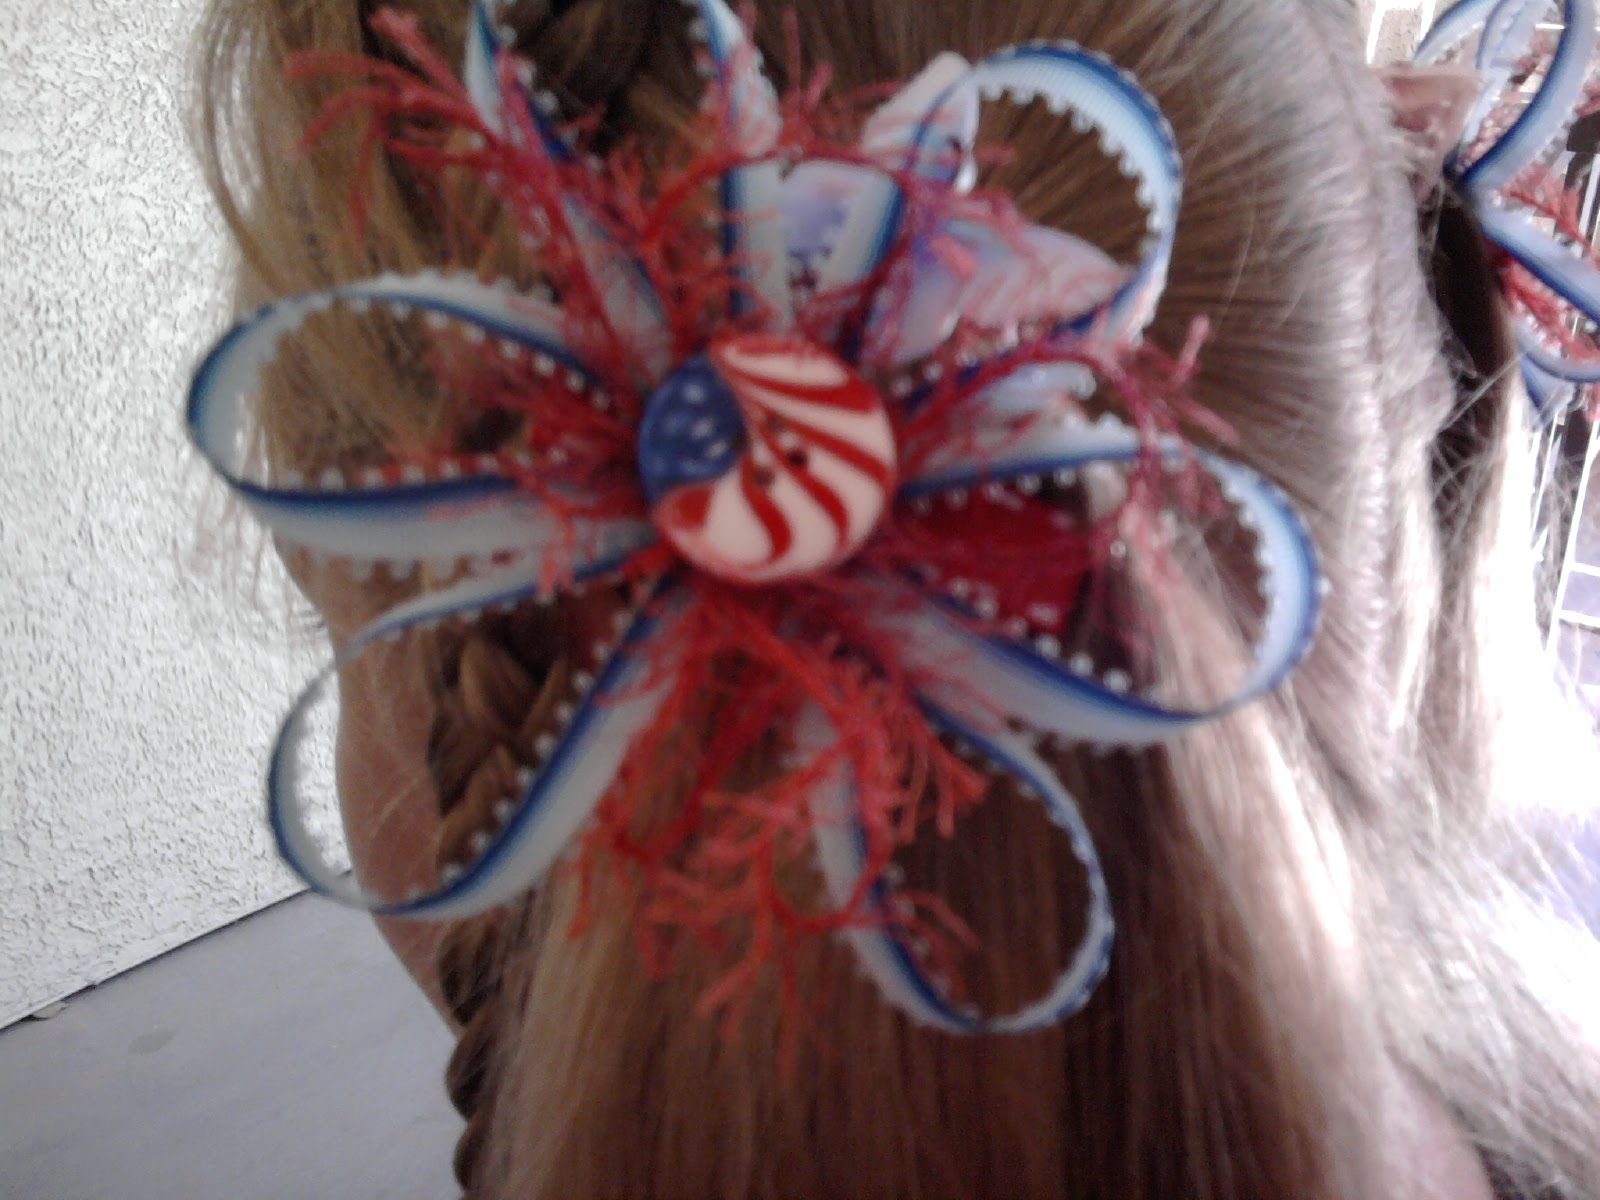
Here are some 4th of July bows I made. I have 2 extra if anyone is interested in purchasing them let me know and I can send them right out. Or if your local you can pick them up just let me know soon since the 4th is almost here! :) I will sell the set for $10 .


Saturday, June 12, 2010

Ren Fest Braids Step By Step

Sorry this took so long to get up and I hope these pictures are descriptive enough. If anyone still has problems with it I can do a video. It is hard to be doing the styles and have a free hand to take the pictures at the same time. So here goes.


First, separate the hair down the middle and then across the crown. Apply gel through out hair.


Start where these 3 pieces of hair are in like a V at the corner and make your dutch braid kind of at an angle and stop where the hair was separated.


It should look like this. Now secure with a clear elastic.


Now make another ponytail like this.


Do a twist braid or a regular 3 strand braid, I like it better with the twist braid.


Wrap it around the elastic into a bun going counter clockwise.Secure with bobby pins.


Now separate the side ponies into 2 pieces.


Now make 3 twist braids with the bottom half and a 4 strand braid with the top.


It should look about like this so far.


Now take the right side 4 strand braid and wrap it around the bun and secure with bobby pins. then going in the opposite direction wrap the left side 4 strand braid around the bun and secure with bobby pins.


Now for this part you can do it 2 different ways. You can either take the 3 twist braids from the left and cross them over to the right and wrap the ends around that elastic like in the pic or you can take the 3 twist braids and cross them over to the bun and wrap the ends around that and secure. Then cross the right side over to the left and do the same thing for which ever way you chose. Secure with bobby pins and cute clips, curl the remaining hair (or leave straight) and your done. Spray well and use plenty of gel.


This is what it looks like from the top.


The side.


And a hello from Chelina :)


Friday, May 28, 2010

Funky Knots

Ok, corny name I know but sometimes I run out of my name creativity lol. The pictures are horrible, they were taken in the morning before school (as I was shoving her out the door on the verge of being late) and taken with my phone so no flash and low light, but I at least thought to get a few pics of it before it was all messed up.


Anyways, enough about my lovely school mornings with a kid who REALLY has ADHD lol. Now lets get to stylin'!

This style is done on wet hair with a good amount of gel applied. First separate a section of hair from ear to ear along the top, now part that to the side (I part on the right so the short side is on the right). Take the shorter side and make puffy braids or elastic braids as I call them, by sectioning a row and securing it with an elast and then getting another sectioned row and adding the hair from the first to that one and continue down do this for the whole right side. Now, start with the hair on the longer side (left) at the top and secure with an elastic then tie onto itself once then add to the next section and secure with an elastic. Now add another section to it and then tie once and secure with an elastic. Now do this tie and skip as far down as you can go till you get to just below the ear and secure with an elastic.

Now take both sides and add to the remaining hair in back and secure into a ponytail. Separate into two sections and tie over and over just leaving a little at the end and secure with an elastic, pull the knotted ponytail up and attach with bobby pins to the hair making X's with the pins to hold in place. Take the remaining hair and curl under a little. I made it so one side was higher then the other since this is how the knot was making go anyways and it looked cute. Spray and your good to go!

Enjoy and if there are hairstyles I do that I haven't done a pic step by step with and you would like one let me know and I will work on it now that school is out. Remember, if you let me know what you think and what you like I can come up with more styles for ya :) so comment lots :) :)!!!


Knotted Back Pigtails

This is a simple style to do. We started out by making the little poof in the front then we split the hair into 2 sections for pigtails. Apply gel all through hair and comb through some more. Then start sectioning of a small amount of hair starting from the top just below the poof for the first knot. Secure this with an elastic and then tie once. Now section another piece and add the hair from the first knot and secure with an elastic and tie. Make another section and secure with an elastic and tie then add to the last section of hair and secure with a more heavy duty elastic.


Now just do the same with the other side, spray and your done. This style is easiest to do on wet hair. The knots turn out much smoother.


Wednesday, May 26, 2010

Swirled And To The Side

This is a pretty hairstyle that can be dressy or casual. These pictures didn't turn out the greatest and don't do it justice but it's what I got. I will do a step by step for this and the one for Ren Fest next week when school is out. Basically what I did was separate a section of hair along the front and then braided it low.Then I took the top section of hair and made a little poof and secured it into a ponytail. Then I made 2 other ponytails and on the bottom pony, I added the braided sides. Then I took the top pony and made a loose swirled bun, securing it with bobby pins and leaving this little extra bit of hair going to the left then I made the same bun for the second pony but I twisted it in the opposite direction and left the extra hair at the end going to the right. I left the bottom pony down and curled it and the ends that were from the buns, although you can't tell real good cause at this point her hair had lost its curl from being in the heat and it got a little fuzzy. To make the buns a little bigger I lightly back brushed the hair before swirling it into the bun. Now all you have to do is spray with a good holding hairspray and your done!
I am looking for a really good holding hairspray, what hairspray do you use?


This one was after she got her face painted :)


Wednesday, May 19, 2010

Cornrowed Mini Faux Hawk Poof

Cornrowed Mini Faux Hawk Poof


For this what I did was first separate a patch of hair down the middle and pinned it aside. Now take the hair on the side and cornrow from the front going back. My daughters hair is kinda fine so I only made three sections going back on each side. Now do the other side and make a pony tail out of the braids. You want the ponytail to be about where the poof ends in the picture, it will be covered up by the remaining hair. Now, take the hair from the middle and use a rounded brush and blow dryer, blow dry the hair in small sections from back to front. When you blow dry, pull the hair so it is over extended, spray it and use the round brush to add the volume. After you have finished, take the front section (bangs) and make a small poof out of it. Now, back brush the rest of the sections a little and smooth over then make another, larger poof that would end right at the top of the ponytail and secure with about 4-6 bobby pins in an x pattern. Now smooth hair and blend with the ponytail. You can curl remaining hair or straighten. Spray and your done! :)

Also, you might notice her shirl in the back is altered. I cut the strips across and then did a french fishbone braid and I think it turned out sooo cute! I see styles in all kinds of weird places lol!


Friday, May 14, 2010

This is really annoying!

Now I know I have been a bad blogger and haven't been on and posting like I should but just because I was MIA for a bit people thing they can come on here and post comments advertising for something which to make matters worse in most cases has been perverted stuff!! On a blog about little girls hair!!! I mean could you possibly stoop any lower then that? Trying to make money is one thing but to what expense...this goes way too far.

I have gone through and deleted the comments and I am going to change my settings for comments. I will be posting more often as well.

Has anyone else had any problems like these with there blogs?

Wednesday, March 31, 2010

Renaissance Festival Hairstyle

I know my postings have been EXTREMELY few and FAR between but I wanted to share this with everyone. I did this style a couple weeks ago for the AZ Renaissance Festival . If anyone is interested in a step by step let me know. Here is the pics.


You can't see it real good but I put these little blue stone clips at the ends of the braids in front.

Monday, February 1, 2010

Pretty Valentine's Day Wreath

♥♥Valentines Day Wreath♥♥


Ok, first I want to say I am sorry for not posting in so long. I have been working on some things and I just had to take a break. Now that, that is out of the way and hopefully you still check in on my styles :) I will share with you what we did.

Now I wanted to do a pretty style for Valentine’s Day that was different from the usual heart. This is what we came up with. I didn’t get step by step pics but if you would like then just let me know.


First, I separated the bangs in the front so they would sweep to the side.
Then I separated the hair about midway and secured it with an elastic.
Now braid the hair down about 3/4ths of the way down and secure with an elastic
Now take the braid and pull it up and make a circle with it.
Now secure this in place with bobby pins or temporarily with other clips.
Now take some pretty red ribbon and the easiest thing to do is use these plastic needles you can find at Wal-Mart and thread it through the hair and the braid to hold it in it’s wreath position.
Now take the end and do a kind of pull through from the bottom of the pony coming out the top so you have a fountain effect. Curl this hair under and spray. Now you can use a pretty barrette like we did for the bangs or just use a flat iron and sweep to the side. Add some curl the the hair that is left down and you have a pretty hairstyle for Valentine’s!


♥♥♥♥♥♥♥♥♥♥♥♥♥♥♥♥♥♥Other view's♥♥♥♥♥♥♥♥♥♥♥♥♥♥♥♥♥♥